
I have been reading for years on blogs and Pinterest about people who recycled crayons into new crayons in fun shapes. I wanted to try it for myself! Here are my results!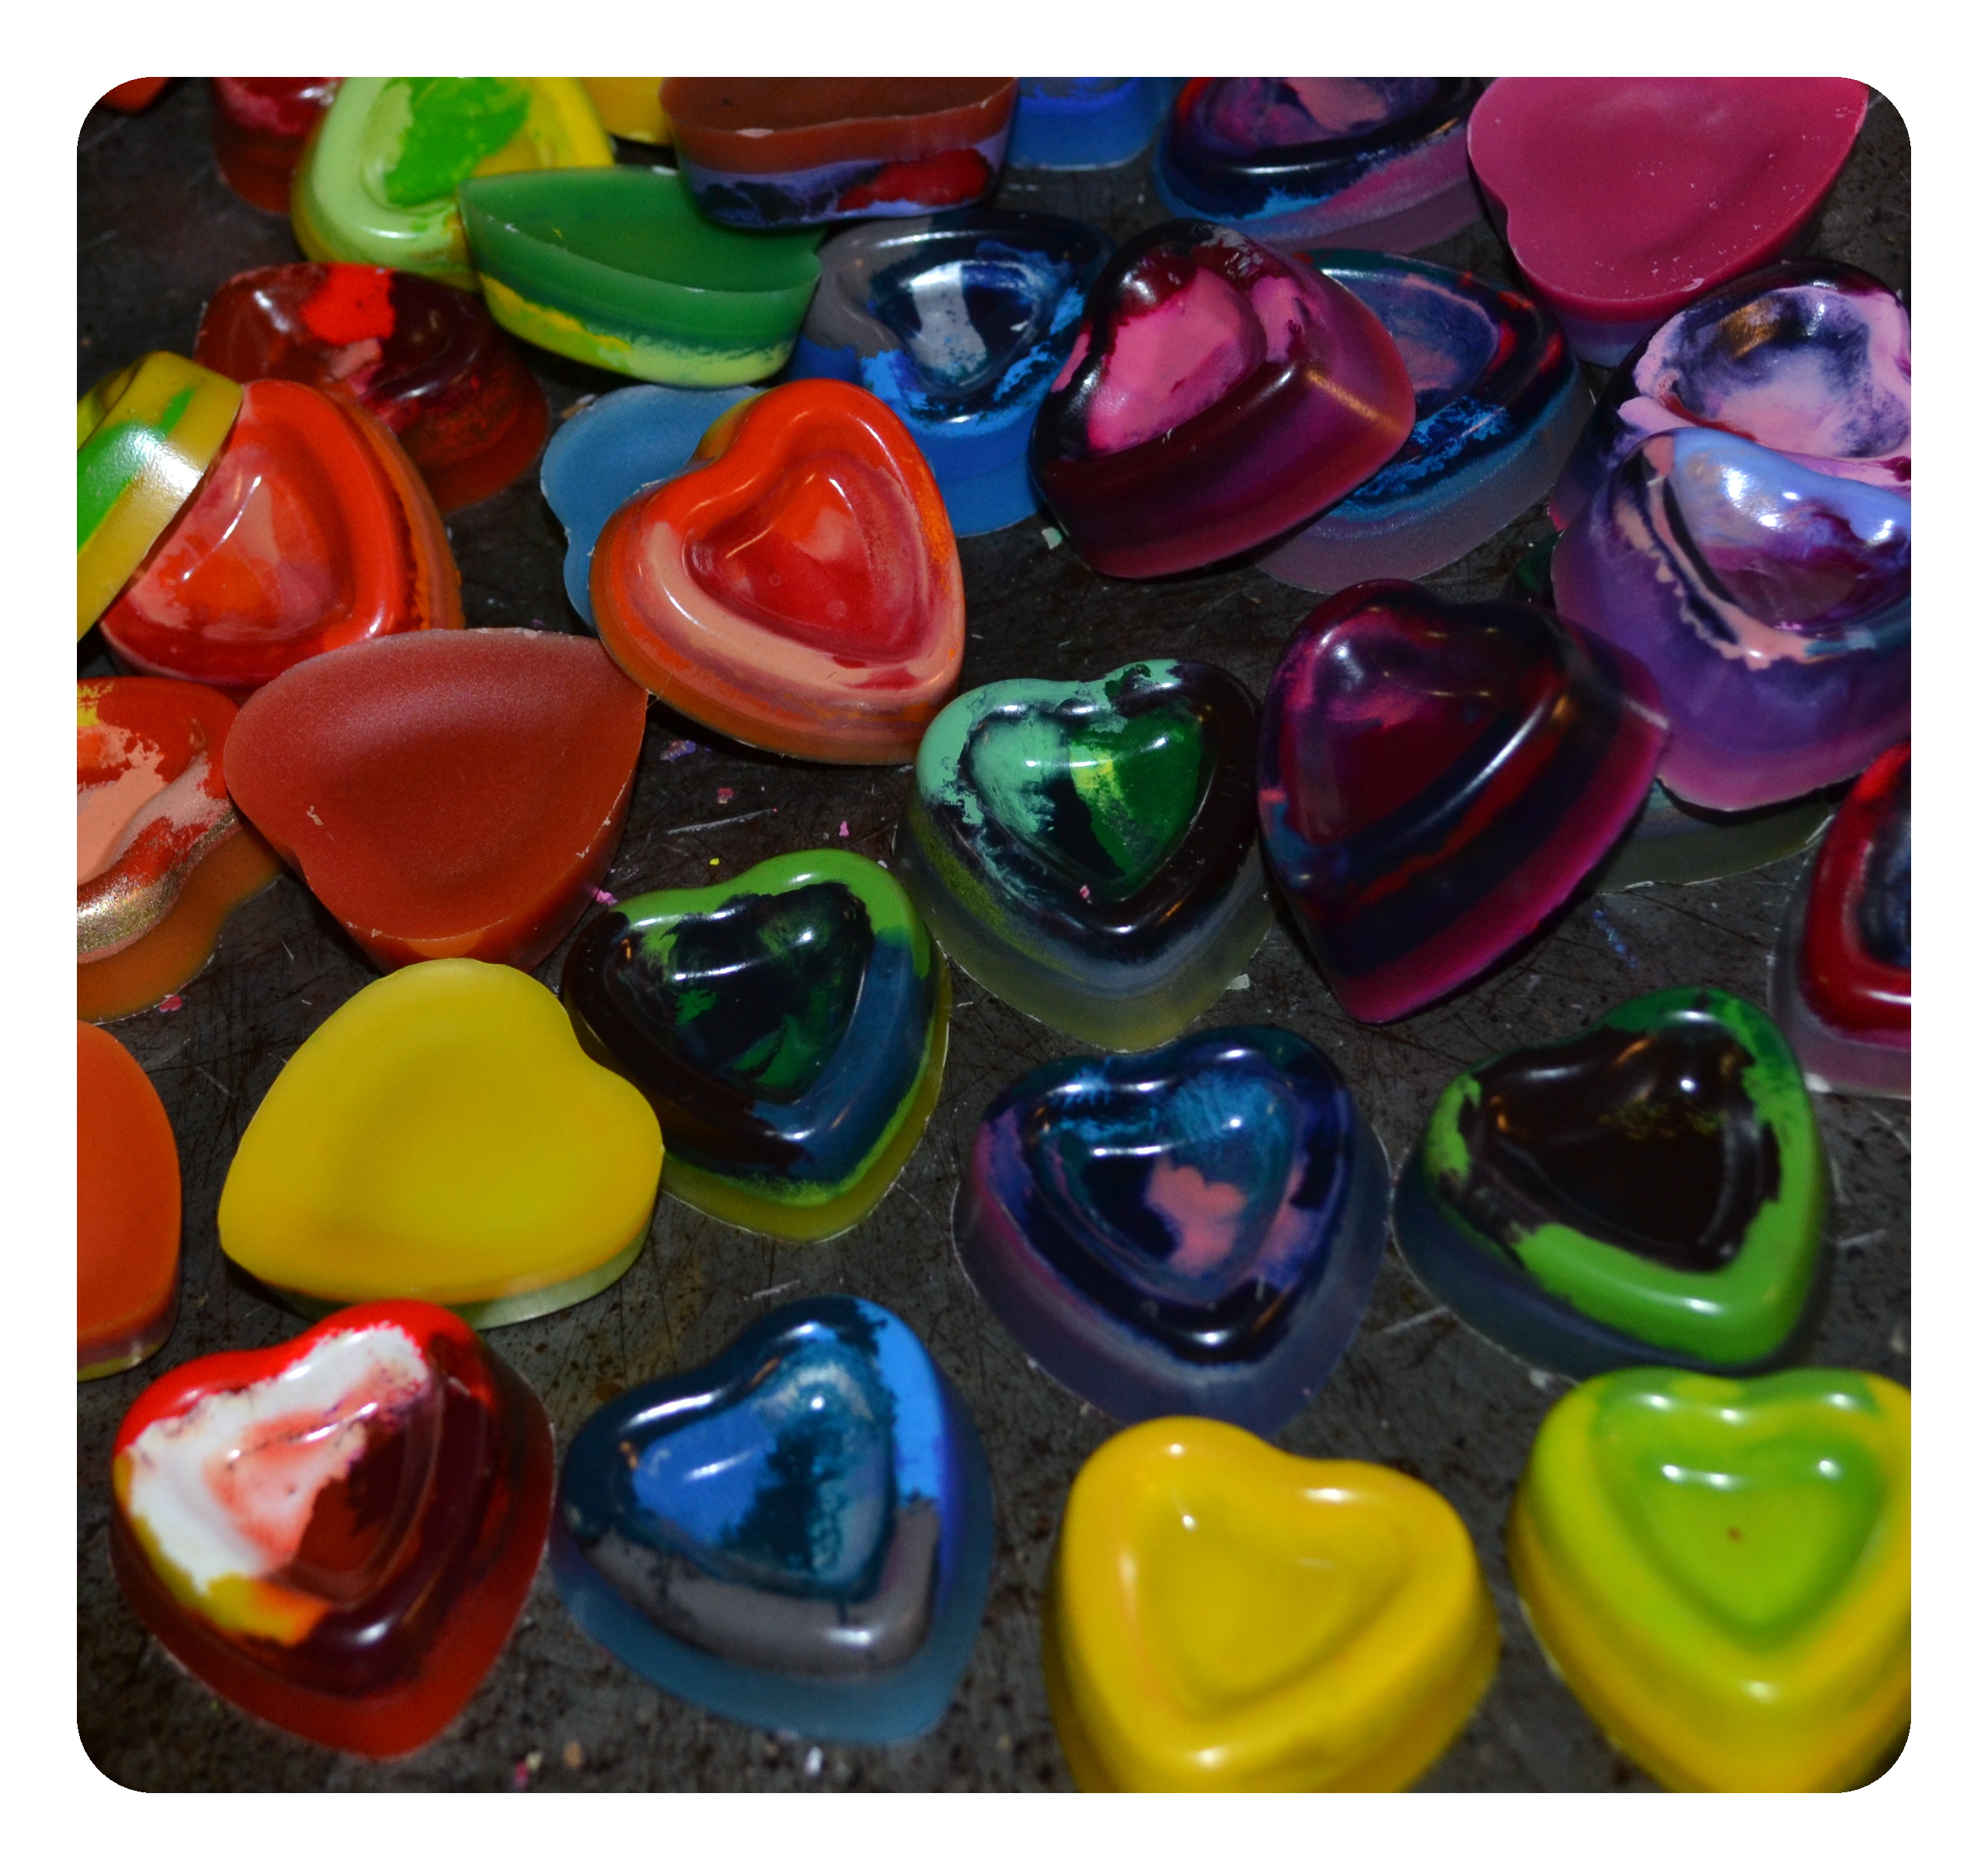 How I did it:
Most of the steps should be done by grown-ups. I will note which parts are kid-friendly!
1. First, I purchased or found at home a mold that would work. I tried two different molds.
Here is an Amazon Affiliate link to the one I purchased and the one I preferred: Wilton 2105-2588 Bite Sized 20-Cavity Heart Dessert Shell Pan

This pan has a non-stick coating which actually works great for this project! And the heart indentation is fabulous, too!
I also tried a silicon heart shaped ice cube tray from IKEA – the hearts were quite cute, but not as pretty as the Wilton-pan ones! I also pretty much ruined the silicon tray, as you can see.

2. Find crayons! I reused crayons from my childhood.

3. Remove the paper from the crayon. You could have older kids do this with their nails, but I don’t recommend it, unless you want to give your kids a very time consuming project and potential paper cuts.
I used an X-Acto Knife to cut the paper off, as if I was peeling a carrot. (In this same way, you could also slice shavings off the crayons to put into the molds.) This part is definitely for grown-ups if using a knife!
4. Next, I broke the crayons into pieces. I went with larger pieces – break the crayon into half, and then each new piece into half. This can be hard, depending on the crayon and size, so use the knife if needed. You could cut them into smaller sizes if you desire, or use crayon shavings. I used big chunks because it was less time consuming.
5. The Kid Part! Sort your crayon pieces into your mold.
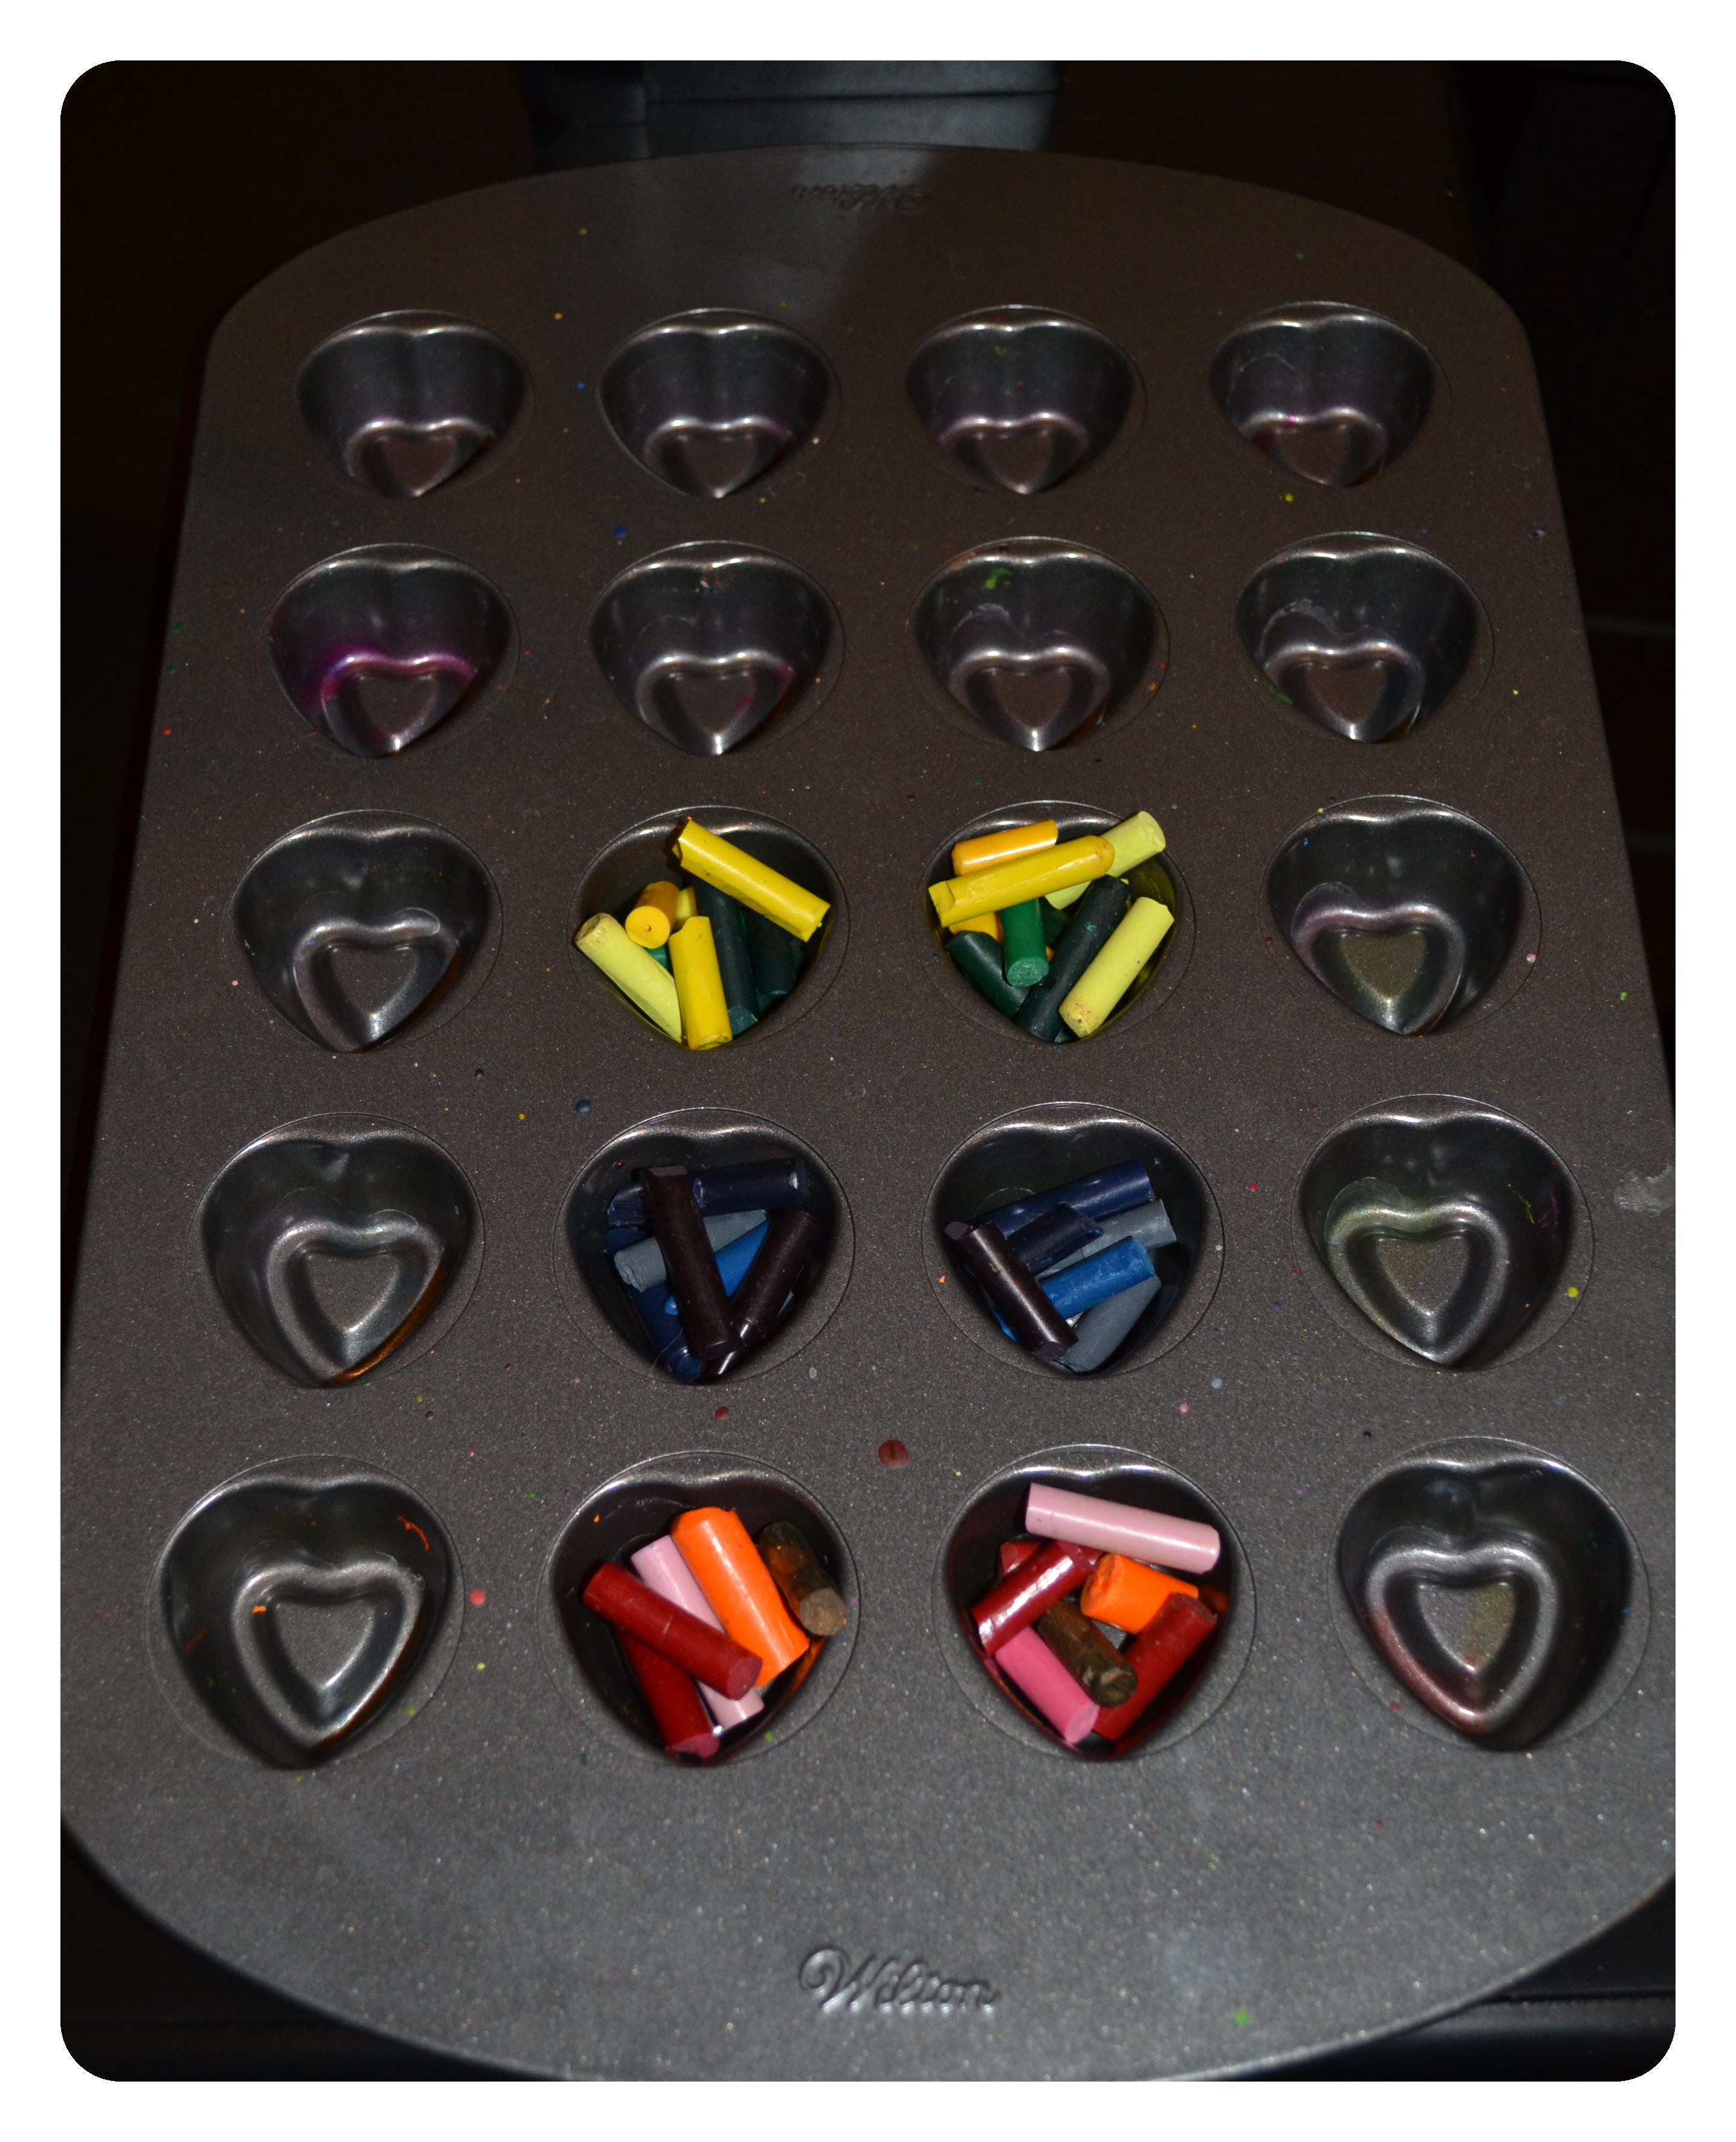
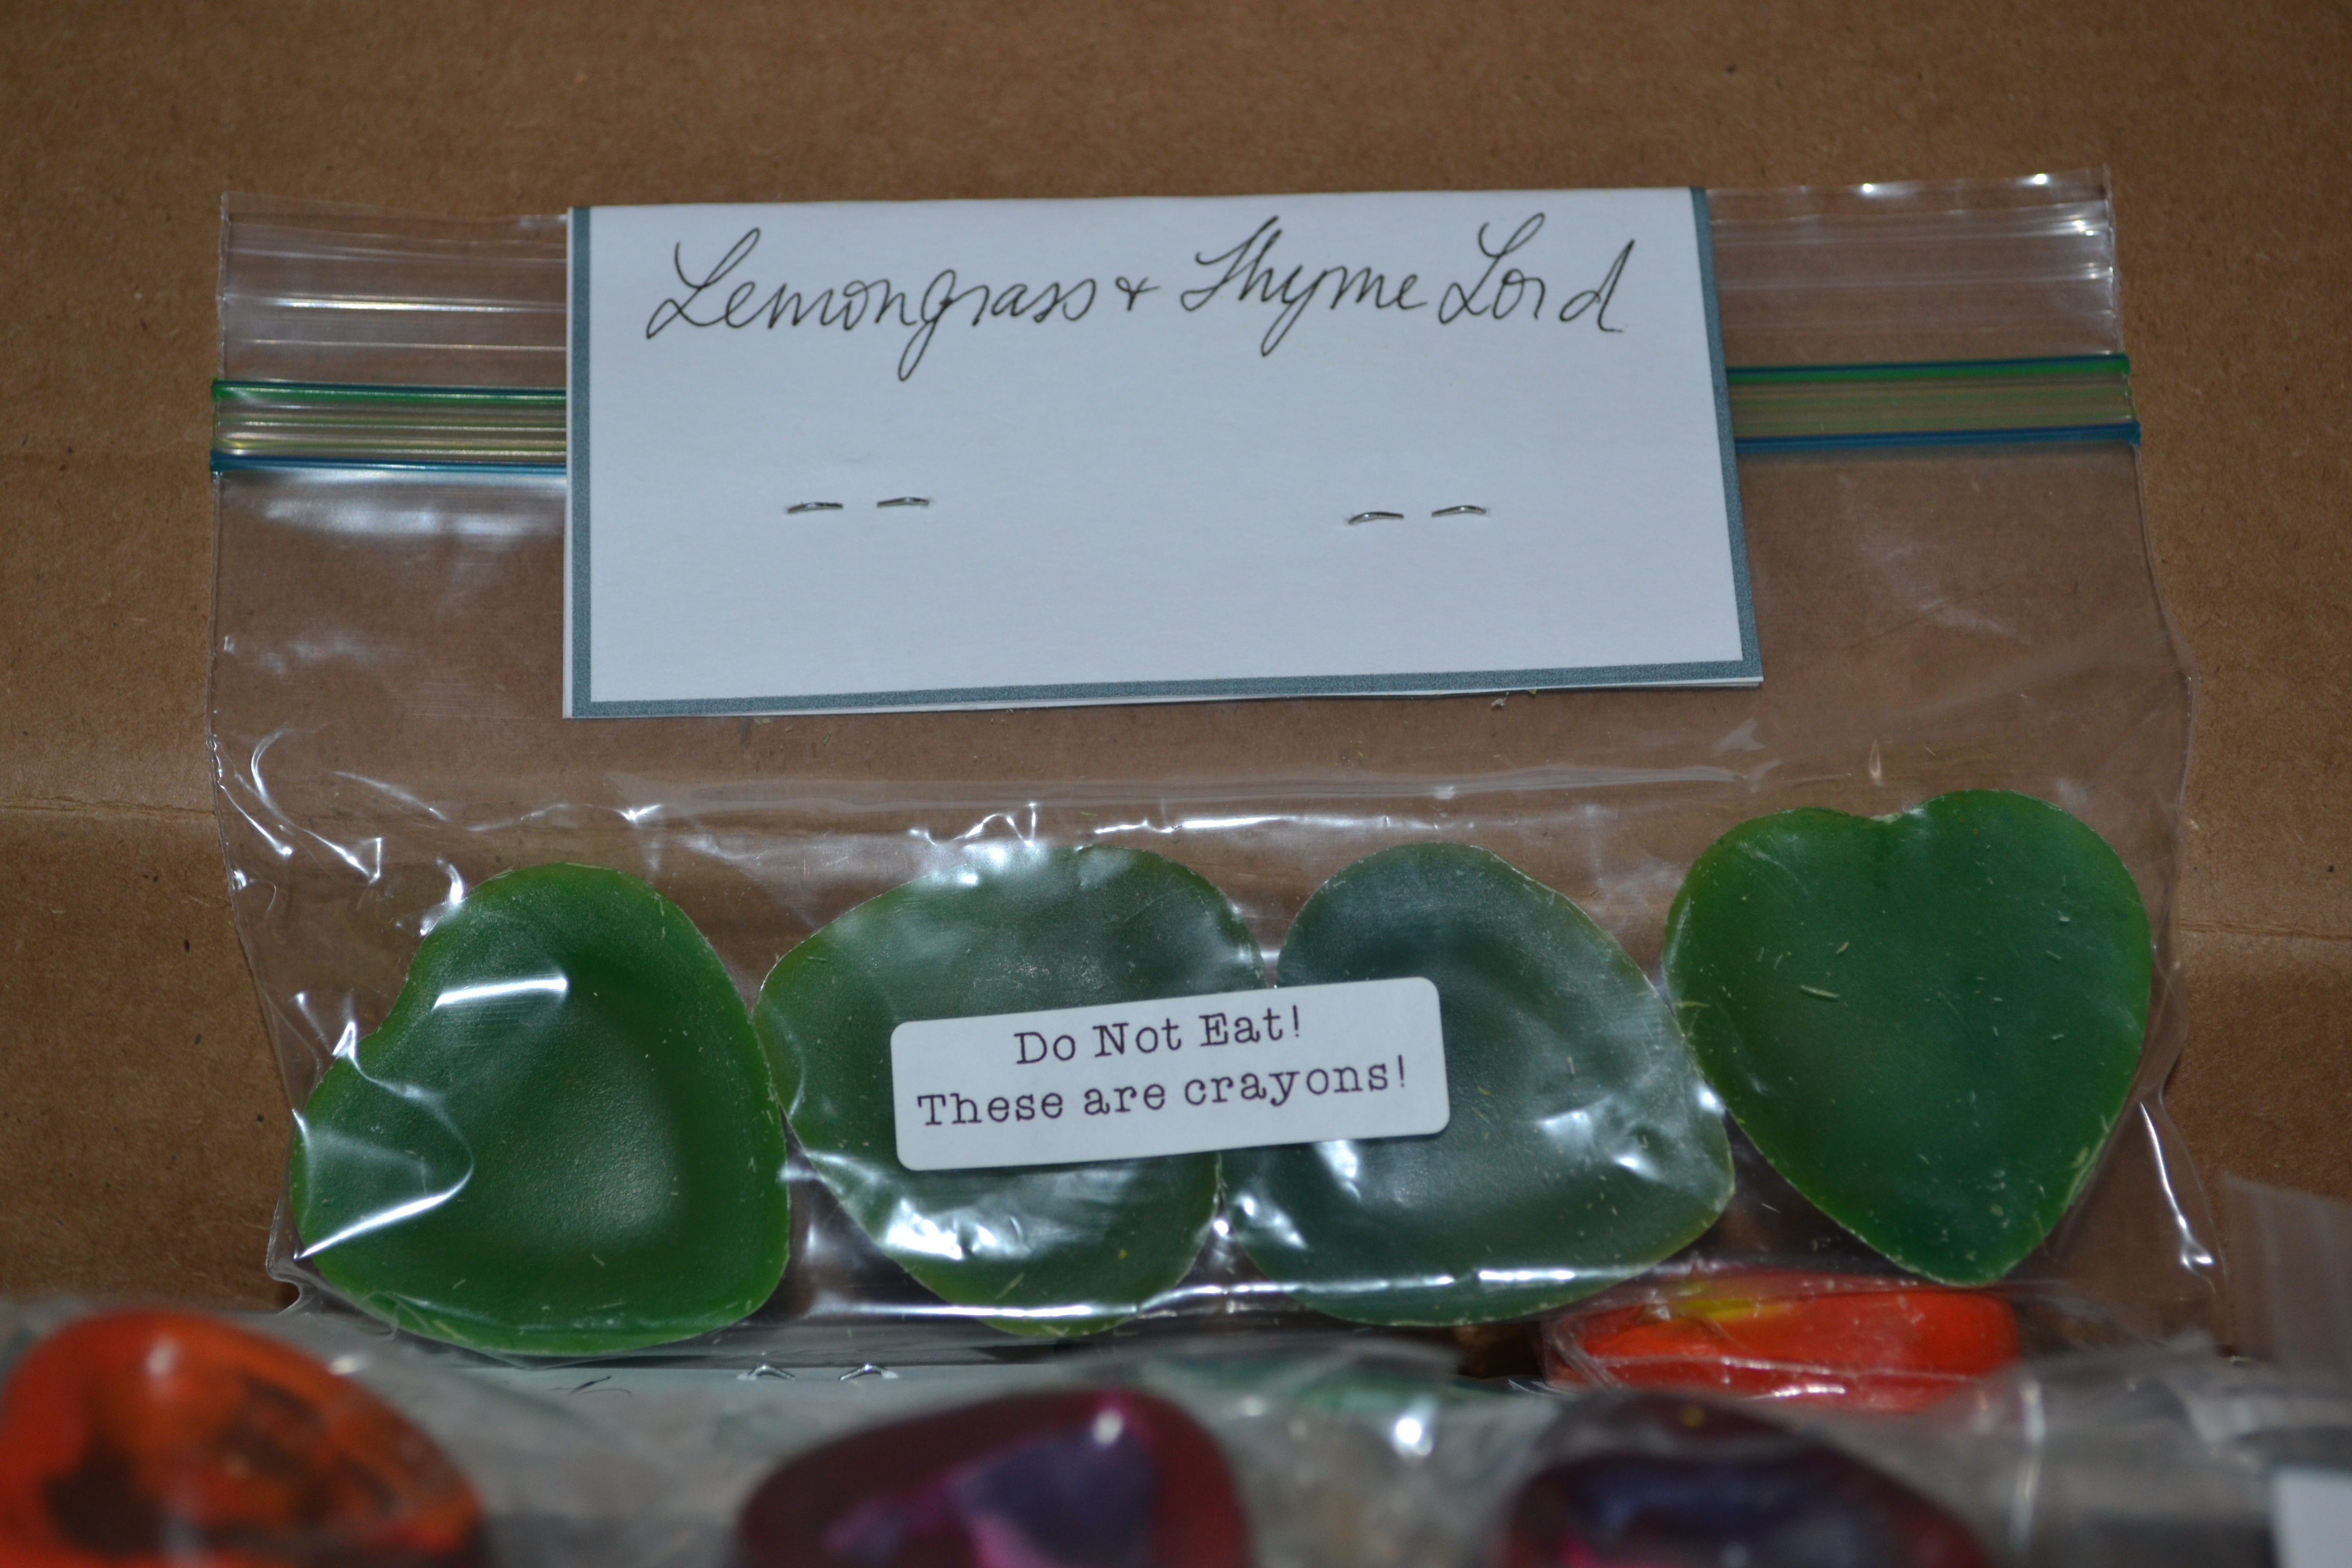
I put mine into 2-3 color combinations – reds and oranges, oranges and browns, yellow and greens, blue and greens, blue green and yellow, purples and reds… you get the idea! FYI – I made a few with rainbow colors and they ended up looking like a mushy brown mess.
You want to fill them loosely to the top for a nice thick crayon.
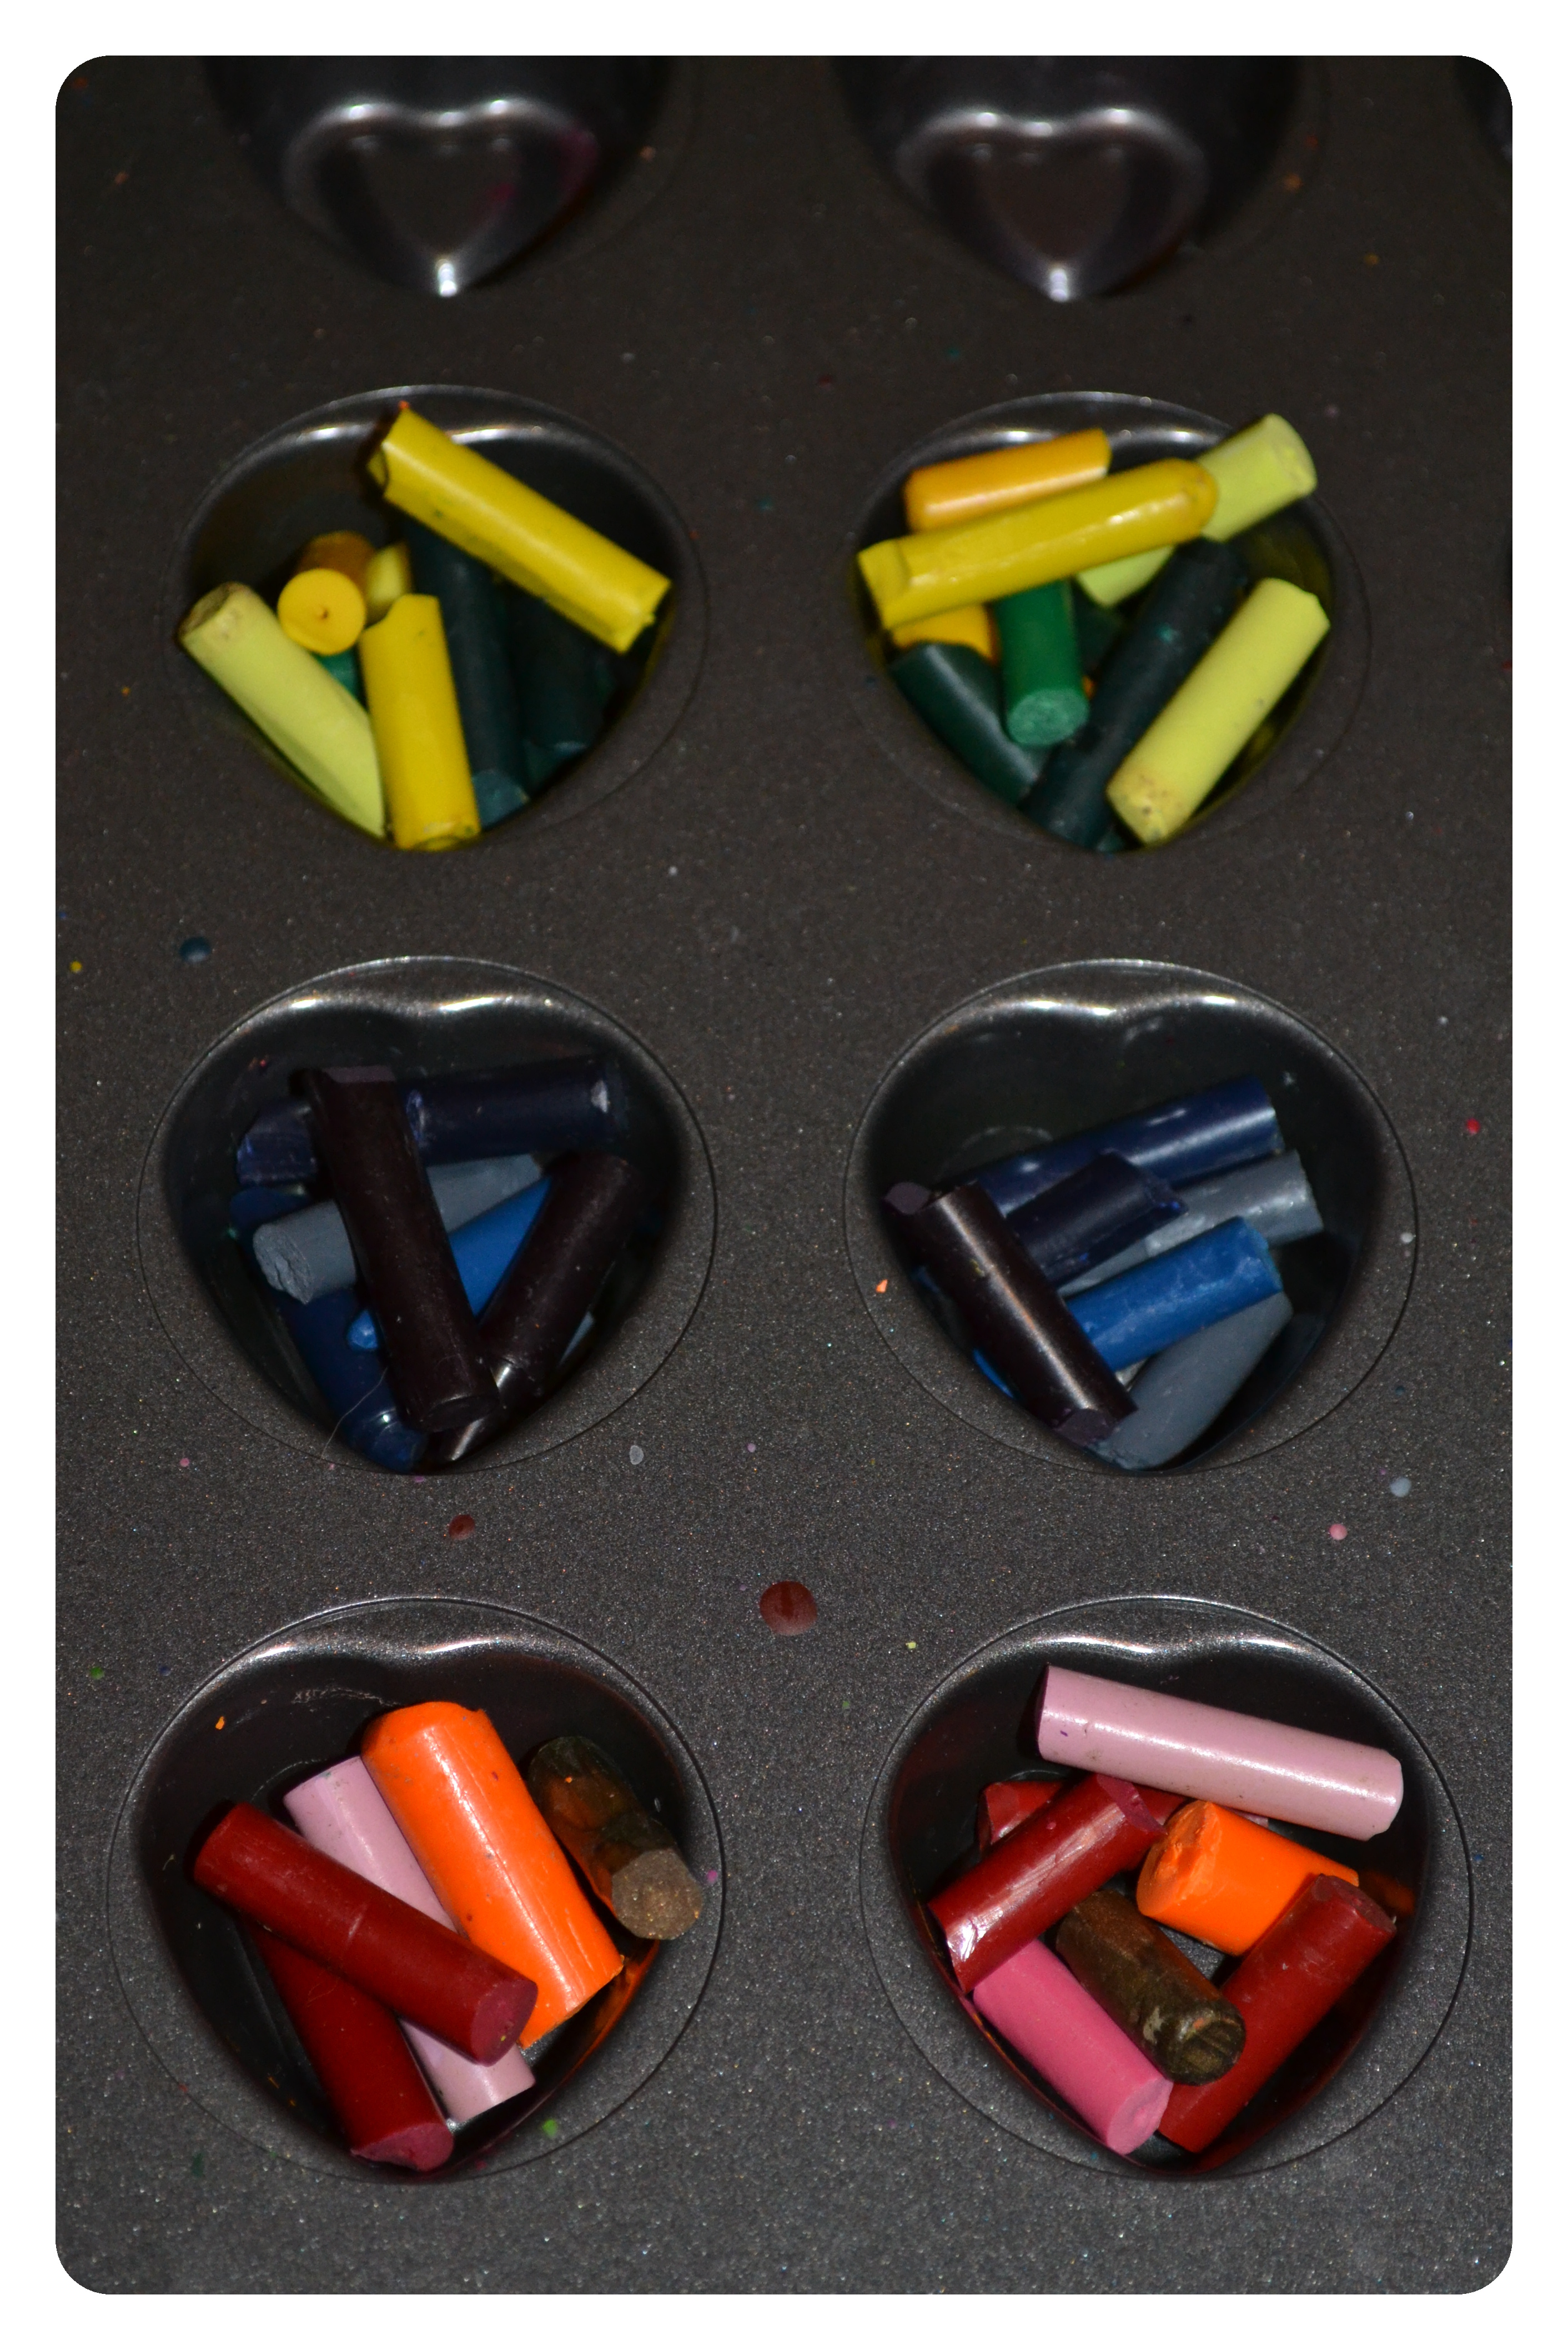
6. Silver, Gold, Bronze, Fluorescent, and White crayons make excellent accents. Put these on the very bottom of the mold to utilize them the best!

7. Put your tray into a pre-heated oven set to 250 degrees F. Melt for 10-12 minutes. You may need to adjust the time depending on your oven and the crayons you use, but mine were completely melted within 12 minutes.
8. Let your new crayons cool completely.
9. Turn your mold over onto a flat surface. Crayons should slide out easily. I only had to give a gentle tap a couple of times.
10. Enjoy your new crayons!
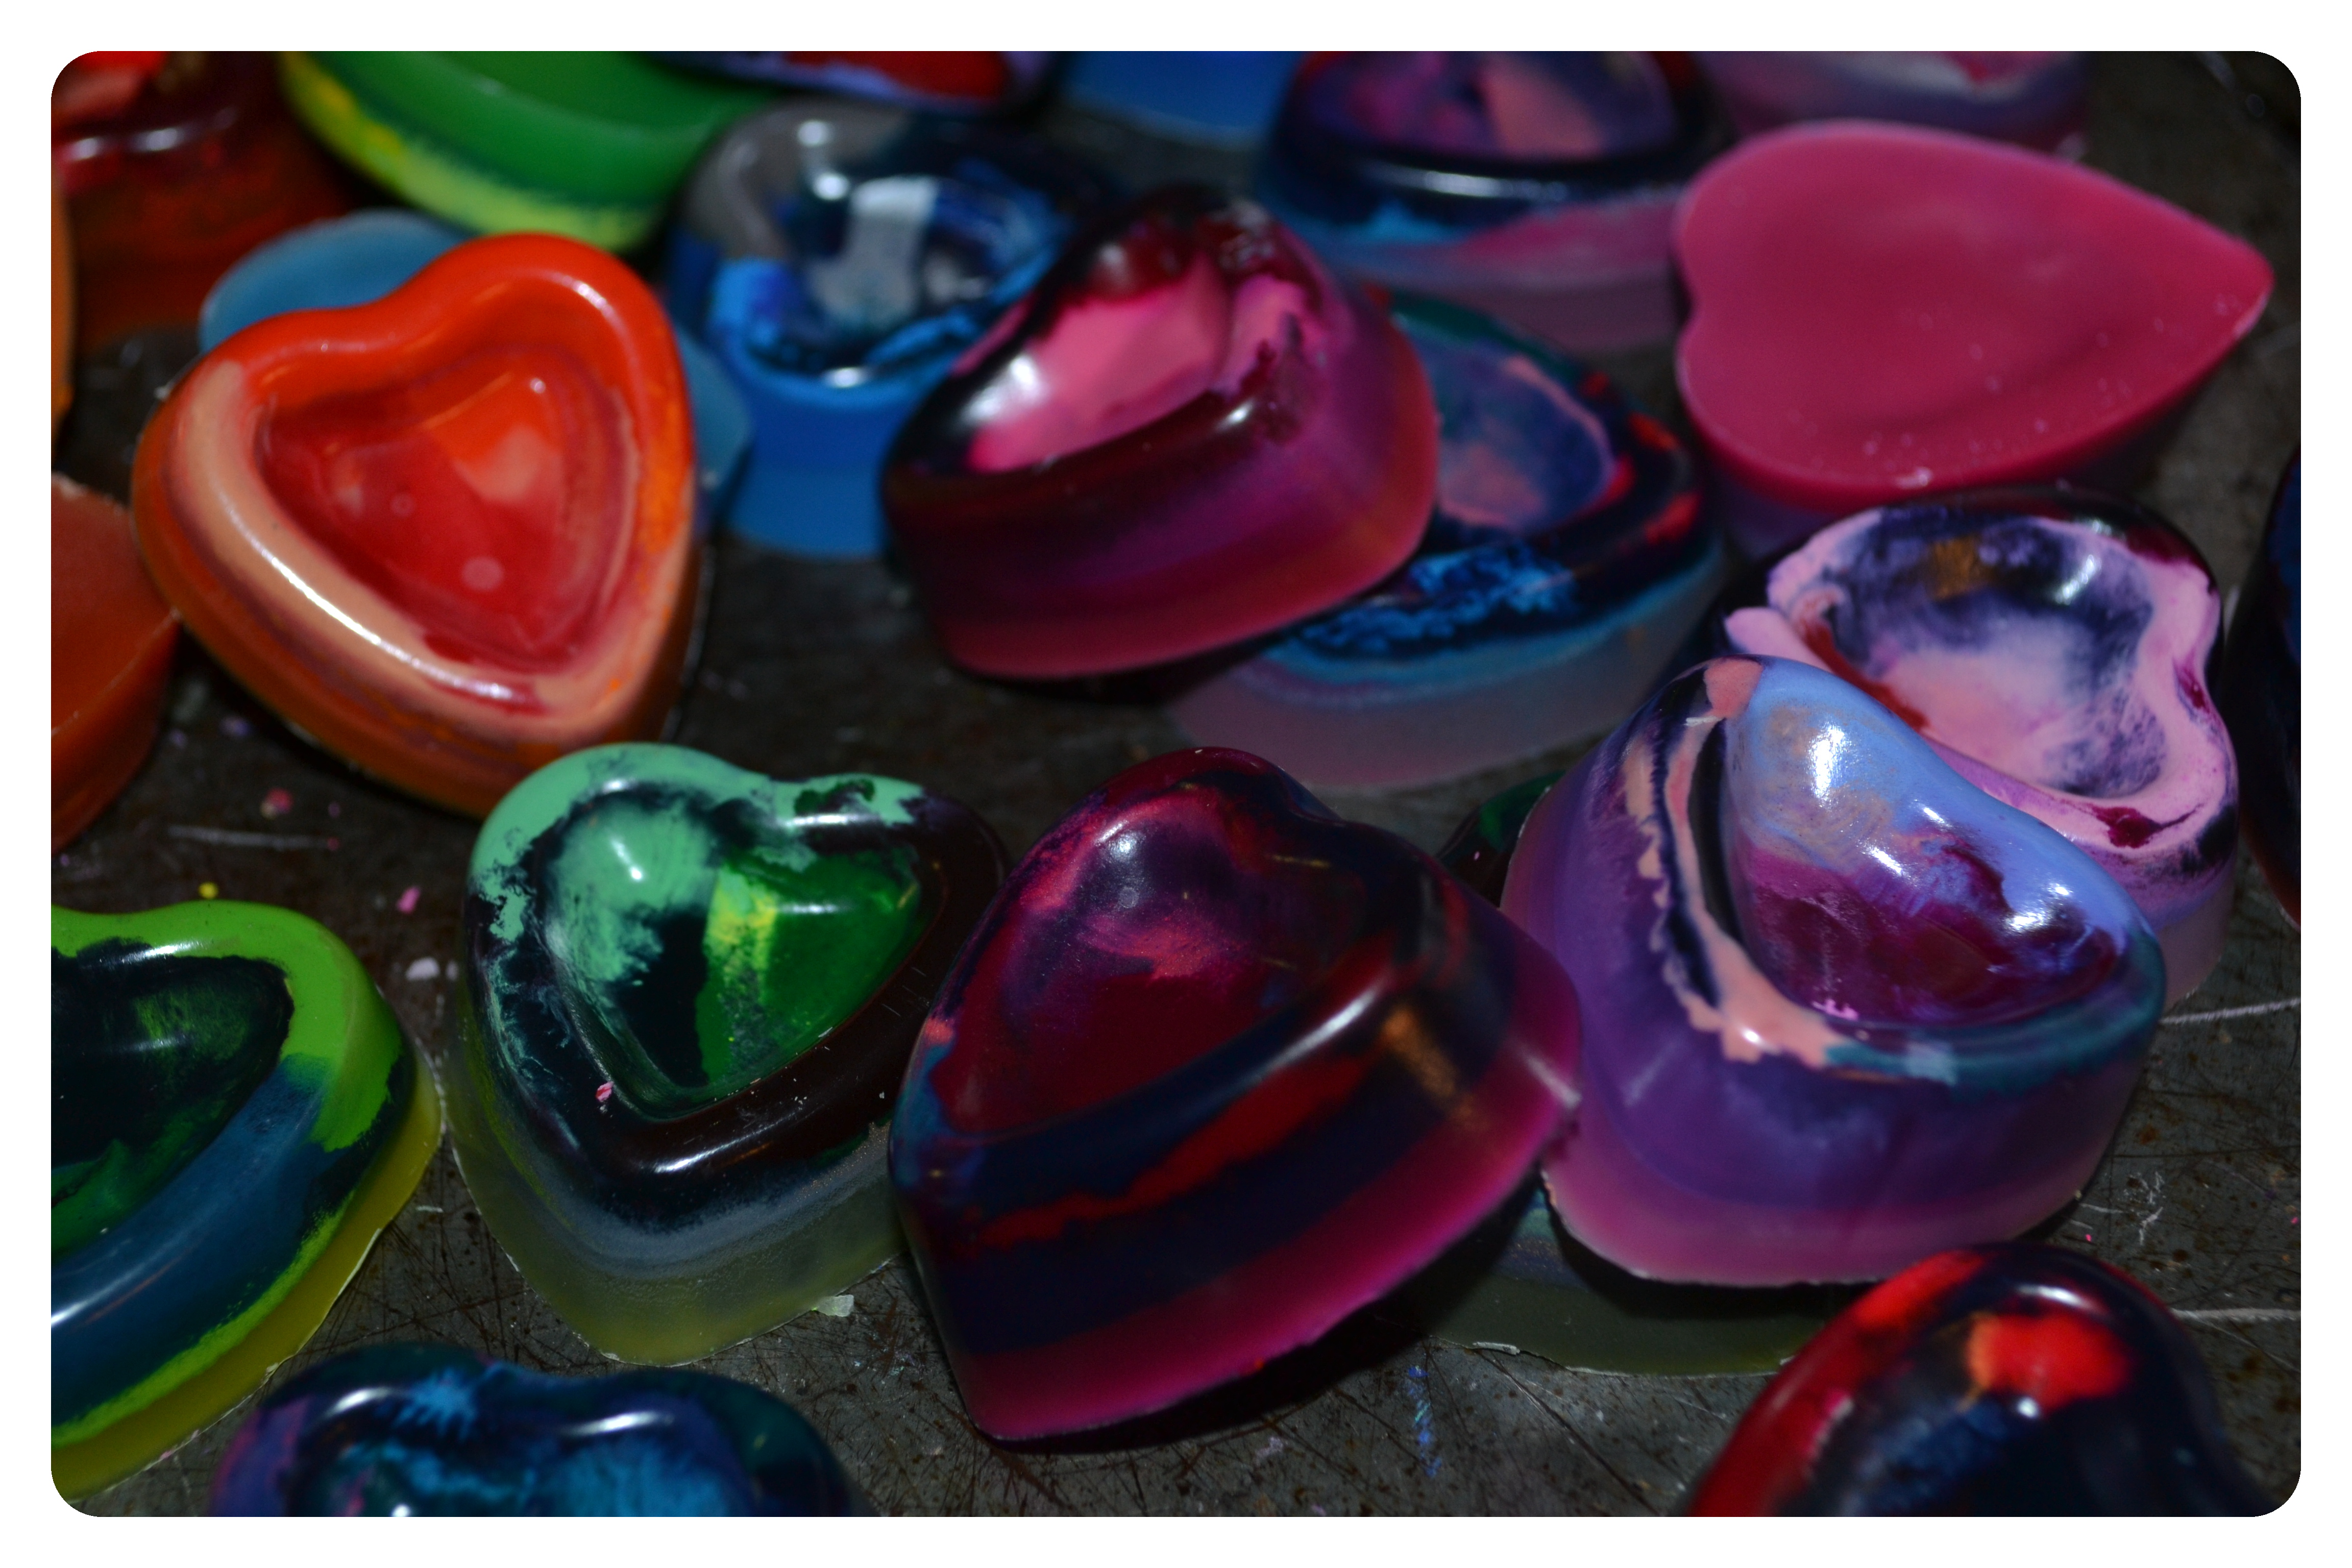
Ways you can enjoy your new crayons
- Use the wide surface to make pattern rubbings.
- Give them as party favors!
- Lines aren’t always meant to be followed – color outside of the lines with your wild new crayons!
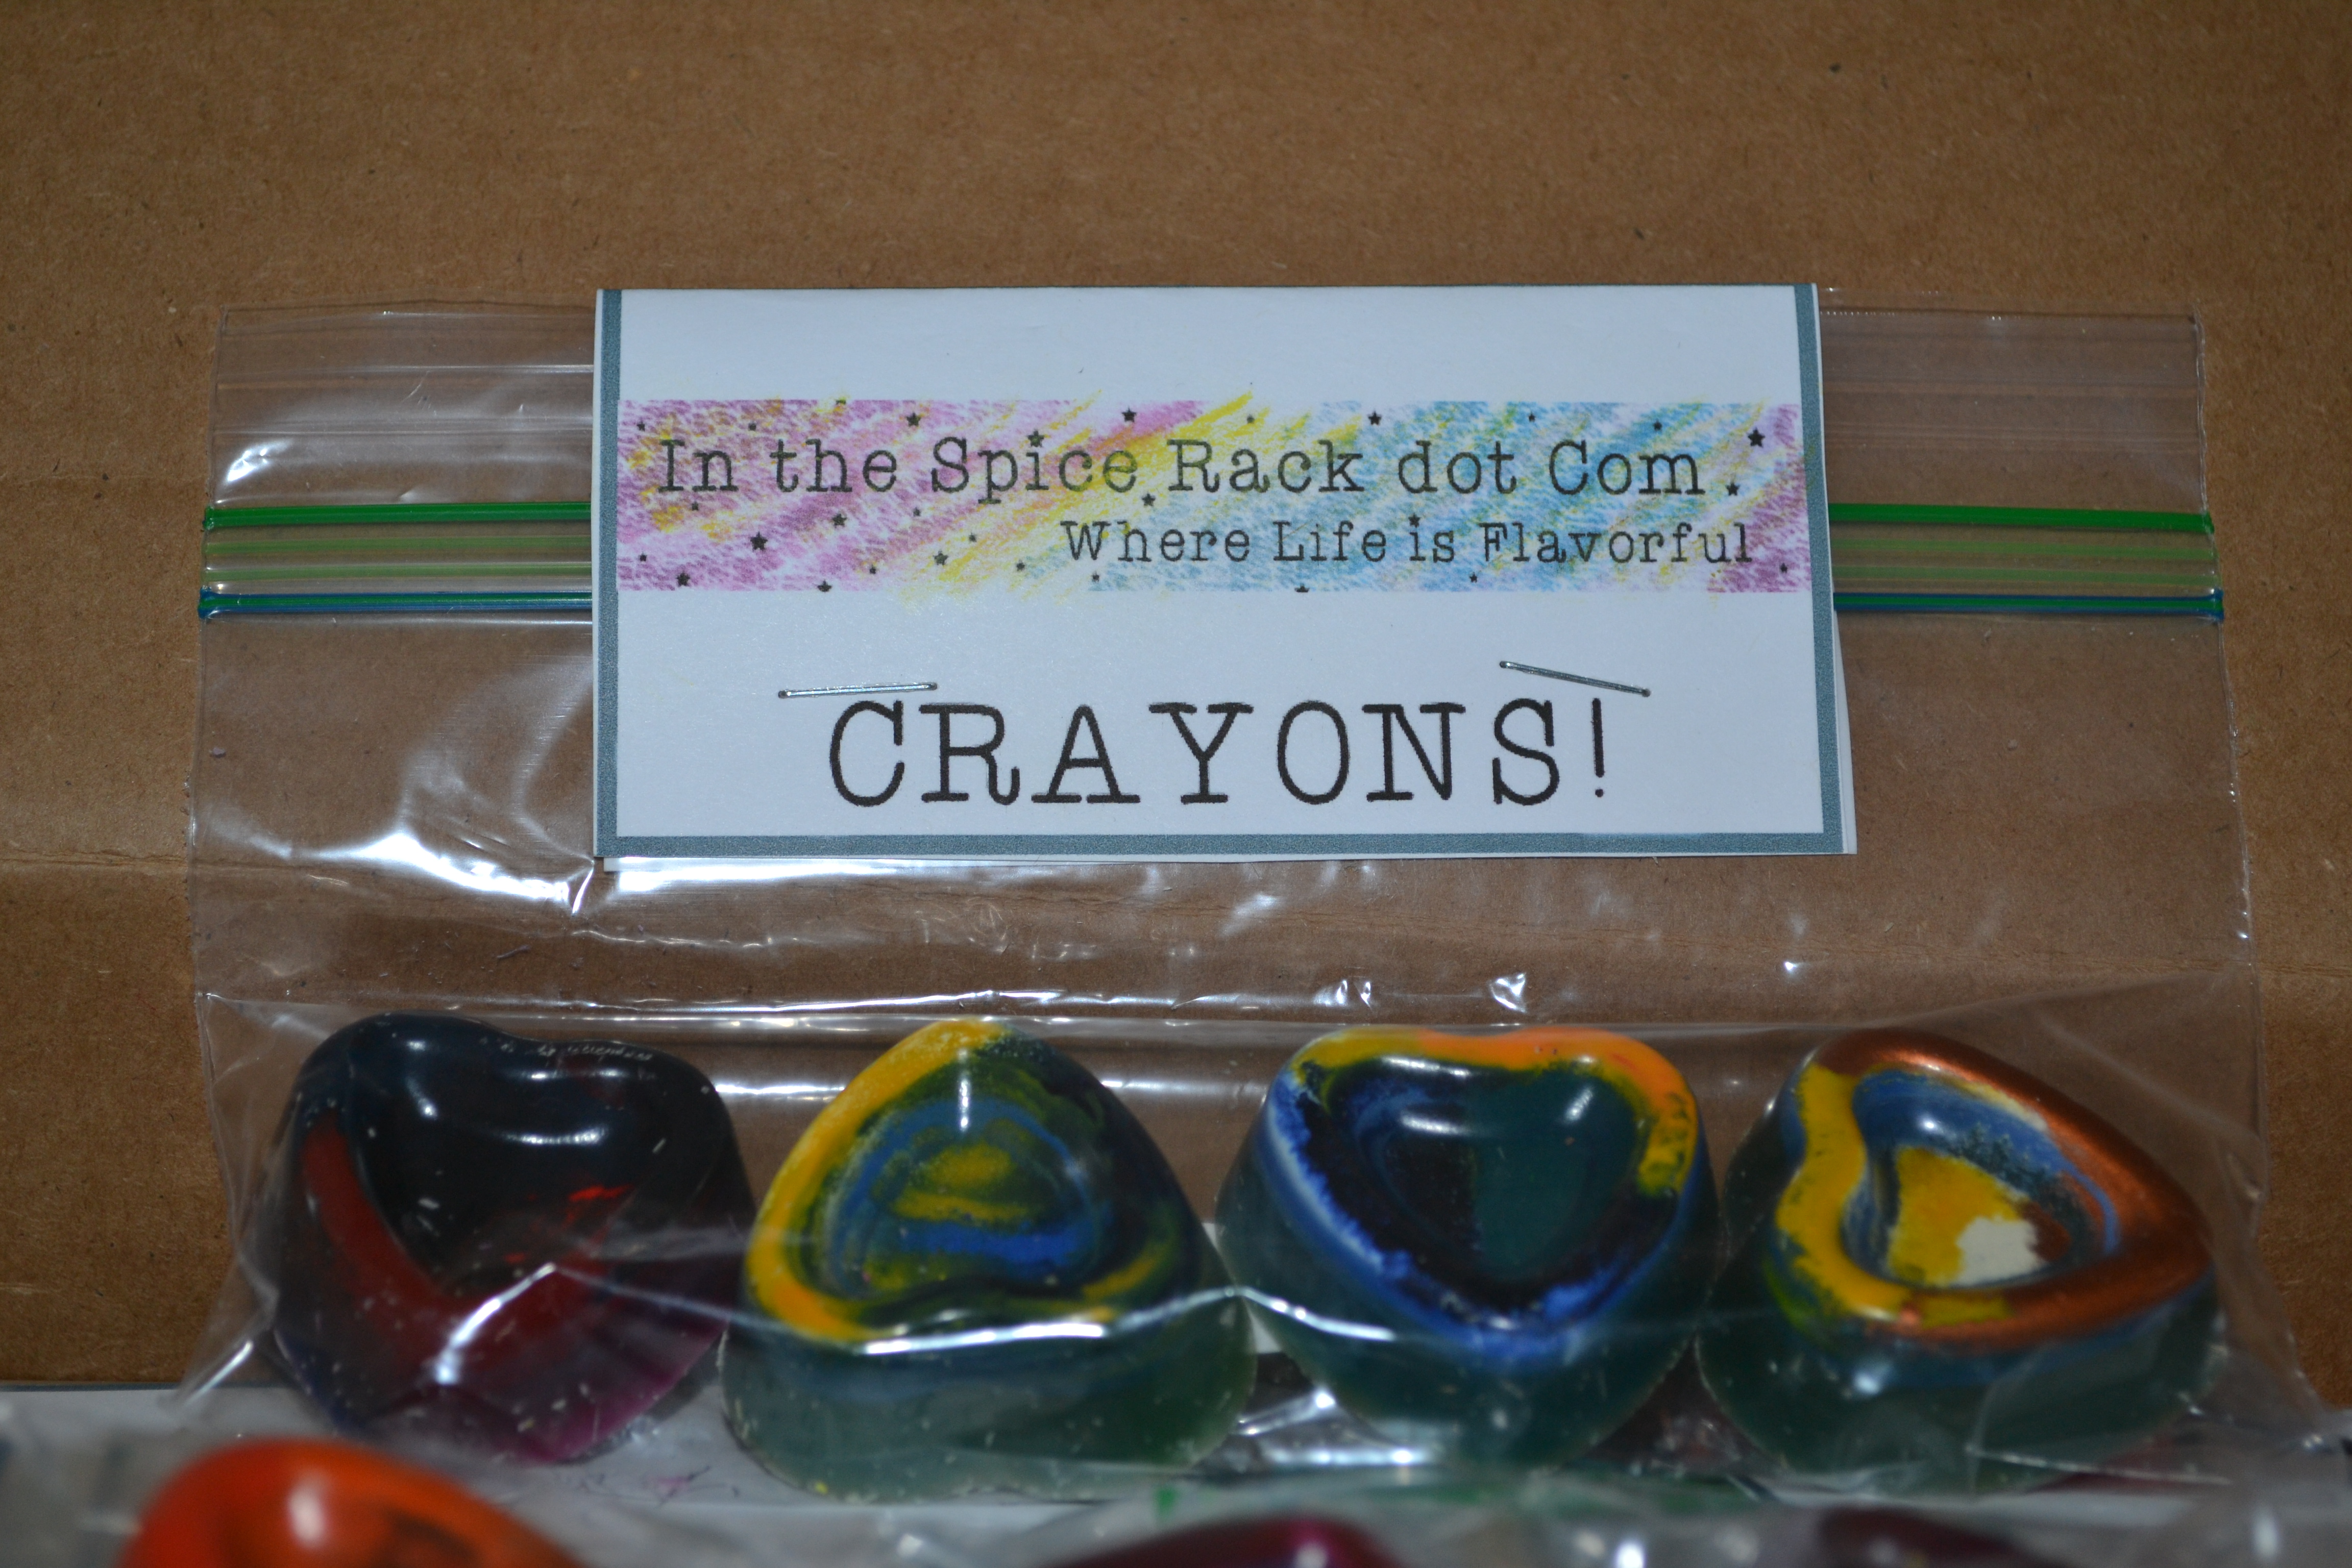
- I used them as marketing! Since crayons were a commodity I had on hand, I paired a new crayon with a Valentine’s Day printable and a business card. Voila, marketing!


P.S. I have some of these for sale in my shop right here!

This is such a fun and creative project!